
This post may contain affiliate links for which I earn a commission at no cost to you. I only recommend products I love and the links are provide for your convenience. Thanks for browsing the links! Read my affiliation policy here.
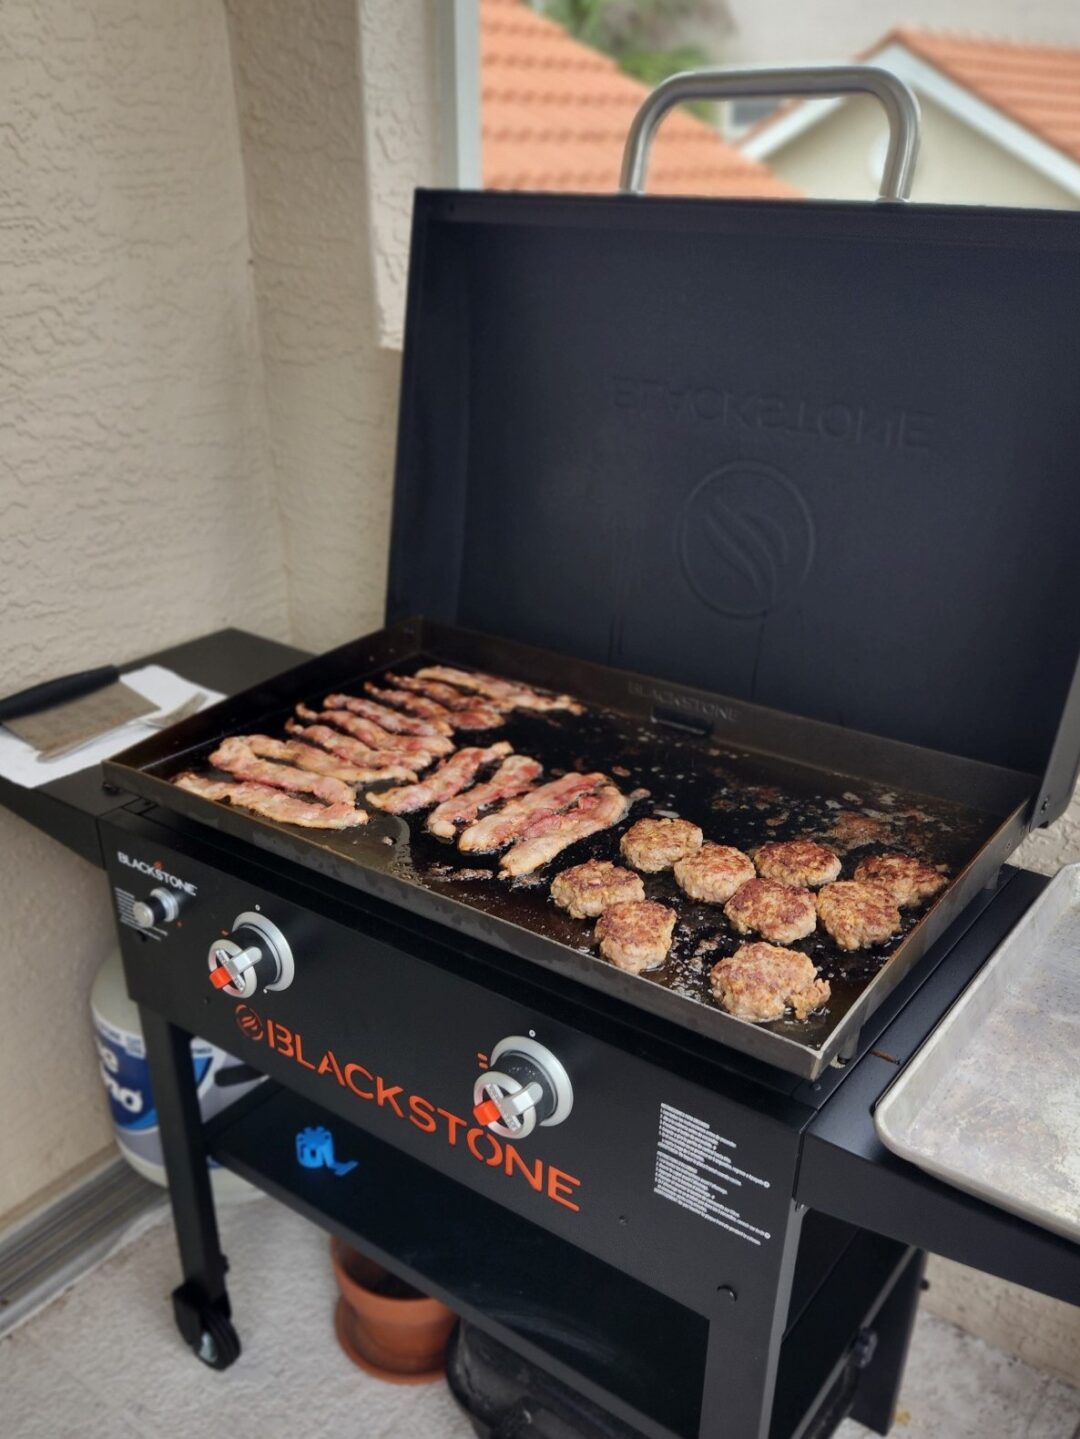
New Blackstone Griddle – What You Need to Know
You’ve just set up your new Blackstone Griddle and are ready to cook something wonderful. There are a few things that you need to know before you fire up your grill for the first time. Plan to take a little time to clean the grill and season it correctly.
*** Be sure to save to your favorite Pinterest Board so you can find us later! ***
Cleaning the Griddle the First Time
Your new griddle is shipped from the factory with protective oil coatings on its cooking surface. You’ll want to remove that coating and residue from the flat top surface before you season it for the first time. This will remove dirt and chemicals before you seal it so you can cook in some amazing grill seasoning oil.
Cleaning Supplies Needed
Bucket of Soapy Water – Use dishwashing detergent and water to to first clean the cooking surface before moving on to the seasoning steps. This is the only time you will use soap on the cooking surface.
Bucket of Clean Water – Use to rinse soapy water off.
Cleaning Rags – Terrycloth rags or dish towels works well. Choose a size that is easy to ring out.
Drying Towel – Dry the flat surface thoroughly before applying seasoning oil.
Steps for Cleaning the Surface with Soap – First Time Use Only
1. Start with a cold grill. Do not turn the gas on yet.
2. Saturate cleaning rag with soapy warm water. Ring it out so it’s not dripping but still very wet.
3. Rub griddle plate with soapy rag to remove residue. Wipe thoroughly along flat area, sides and corners of griddle.
4. Repeat washing several times wringing out rag in between each time.
5. Use a clean rag saturated with clean water to rinse the surface.
6. Repeat rinsing several times wringing out rag in between each time.
7. Use a clean dry towel to remove all water from surface.
8. Wipe over all remaining trays and grill cover with a clean rag to remove dust and dirt.
9. Let air dry thoroughly for about 10 or 15 minutes before moving on to the seasoning steps.
Why Do I Need To Season a New Griddle
When you apply oil and let it bake in several times it forms a hard protective layer that bonds to the steel surface. That will provides a natural stick resistant surface and prevent rust and corrosion.
It also makes it easy to cook on, food is flavored well from the seasonings, and it makes clean up very easy!
How to Season the Blackstone Griddle the First Time
The seasoning process for your new griddle uses oil. It’s like using iron conditioner for a cast iron skillet. Letting it smoke on the griddle and bake in is the key to carefree, easy and successful grilling.
Initial seasoning before you cook on the grill is important because it is what makes your griddle turn black and smooth, and creates a nonstick cooking surface.
It infuses the cooking area with amazing seasonings that add flavor and makes your grilled food taste great every time you cook. An added bonus is that it also makes clean up each time you grill a breeze.
Turn on Gas and Light Burners
Rotate the hand wheel on the propane gas tank. Turn propane wheel counterclockwise to the left to open and turn on the gas. You will turn clockwise to the right to turn off the gas later.
Light griddle by pushing in the burner dial and turning to high heat while pushing the starter button which is usually located to the left of the dials on most models. There will be a clicking sound and then the burner will light.
Light all burners. Look through the window where the flame comes out underneath the flat top surface and see that the burners are properly lit.

Blackstone Griddle High Heat Setting
Apply Oil to Surface
Next using tongs to hold a paper towel spread two to three tablespoons of seasoning all across this griddle surface. Instead of tongs you could wear heat resistant gloves to hold the paper towel. I think it makes it much easier to control putting the oil on the grill.
Whether you use tongs or a heat resistant glove be sure to be careful and not get burned. The surface is very hot. Don’t use too much oil. You just want a thin layer across the surface to burn off easily.
Wipe all surfaces of the griddle cooking surface including the sides and rim. Use a circular motion to cover everything evenly.
Try to have a nice even coating with no pools of oil on the surface. Rub with the paper towel like you’re trying to take the oil off and leave just a shiny layer on the surface.
Burn Off Oil
Let the griddle stay on high heat until the smoke stops.
Repeat the process of applying griddle seasoning oil evenly three or four times and let it smoke and burn off each time for the initial seasoning.
It takes about 4 hours to go through the process 3 or 4 times. Most of that is waiting time while it burns so you can enjoy doing something else while that is going on and return to check on it.
You don’t have to do it all at once. You can seasoning it a time or two now and later. Just be sure you have gone through the process for 3 or 4 layers to burn in completely before you cook on it for the first time.
Now your grill is seasoned and you’re ready to start cooking some amazing dishes. Don’t worry if it doesn’t look perfect. There’s really no such thing as a perfect first seasoning.
As you cook on your grill it will continue to blacken and burn in oils as you cook, but it’s important to get the initial seasoning down so you have a smooth non-stick cooking surface to begin with.
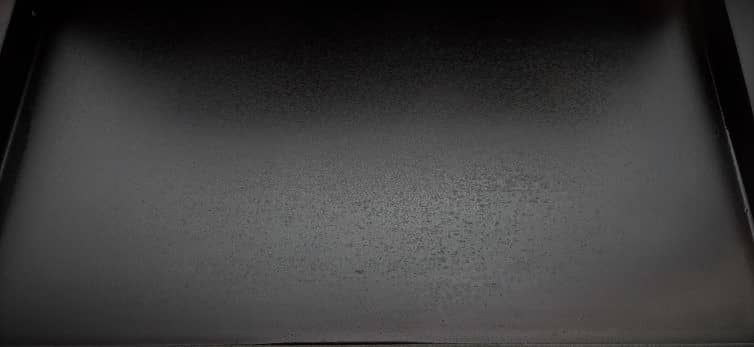
How the Blackstone Griddle Looks after Initial Seasoning
Pro Tips for Seasoning Your Grill
Don’t season it for the first time if it is raining or misting rain if your grill is not under a cover or shelter.
Take care if it is windy. The burners will not heat the surface and the corners might not season evenly. You might need to shelter the side the wind is on or turn the grill to get it out of the wind path.
Use a thin coat of oil. Wipe any oil puddles to smooth it out before it burns off. Too much oil will cause it to pool and it the protective coating may crack easier.
Close the griddle top to retain heat while it is baking the oil in. The smoke will come out where you can see it. You can open it to check on it.
You don’t have to season the Blackstone every time you cook. The initial seasoning process will provide the smooth surface. Apply a thin layer of oil after cooking to protect it from rust and so it will be ready to cook the next time.
What Is the Best Oil to Use to Season the Griddle
Blackstone griddle seasoning is and excellent product. I have used it and am extremely happy with the results! I have talked to other griddle lovers who are pleased with it, too. From the way the shelves are often empty at the store, I believe a lot of people are happy with it.
It comes is in a small plastic jar, and is a soft thick texture so it spreads easily. You can control the application by scooping a couple of tablespoons out onto a paper towel then rub it on the flat surface .
You can use other oils to season the surface and they work well; however, I recommend the Blackstone Seasoning and Cast Iron Conditioner at least the first time when you season your griddle and you can use other oils for cooking on your griddle.
The Blackstone seasoning is a proprietary mixture of oils and it does a great job seasoning the grill so that everything tastes so flavorful time after time. A lot of times the store has been out of it or only sells it with a kit. You can order it from the link above and keep an extra jar on hand.
Oils for Cooking
The smoke point is the temperature where fats in the oil break down. You should choose oils for the temperature that you are cooking at, whether high heat or low heat. Use oils that have high smoking points for high temperature setting cooking and use oils that have low smoking points for foods cooked at lower temperatures.
Flavor is also something to consider when choosing an oil to cook with. Olive oil and coconut oil enhance flavors. Canola oil is mild and doesn’t affect the flavor much. Avocado oil has a slight avocado twinge, but it is perfect for high heat cooking, searing, and sautéing.
Avocado Oil – Smoking Point 520°
Canola Oil – Smoking Point 450°-470°
Olive Oil – 375° to 425°
Process for Cleaning Griddle After Cooking
While the griddle is still hot use a metal scraper to scrape any residue from the grill surface. First scrape at any baked on areas then moving from one side of the grill to the other, push the oil and food residue to one side. Next push it up and back toward the tunnel where the grease runs into the grease cup.
You can squirt a little water on any spots and then scrape to remove. The water acts as a steamer and helps remove the baked residue, if any. Depending on what you cook there may not be any residue. However, sweet or sticky sauces sometimes leave thicker remains.
Wipe the surface top with paper towels or a clean rag . Turn the grill off and let the griddle cool. Apply a tablespoon of Blackstone Seasoning and Cast Iron Conditioner or oil and wipe over the flat top and side rims using a circular motion for best coverage.
This whole process takes just a few minutes and then you’re ready to sit down, eat and enjoy. But if the crowd is calling and you want to eat immediately, no worries. Just turn the grill off and reheat it to high when you want to clean it. No dishes to wash, the kitchen is clean since you cooked outside, and you have a seasoned griddle that is ready for the next time.
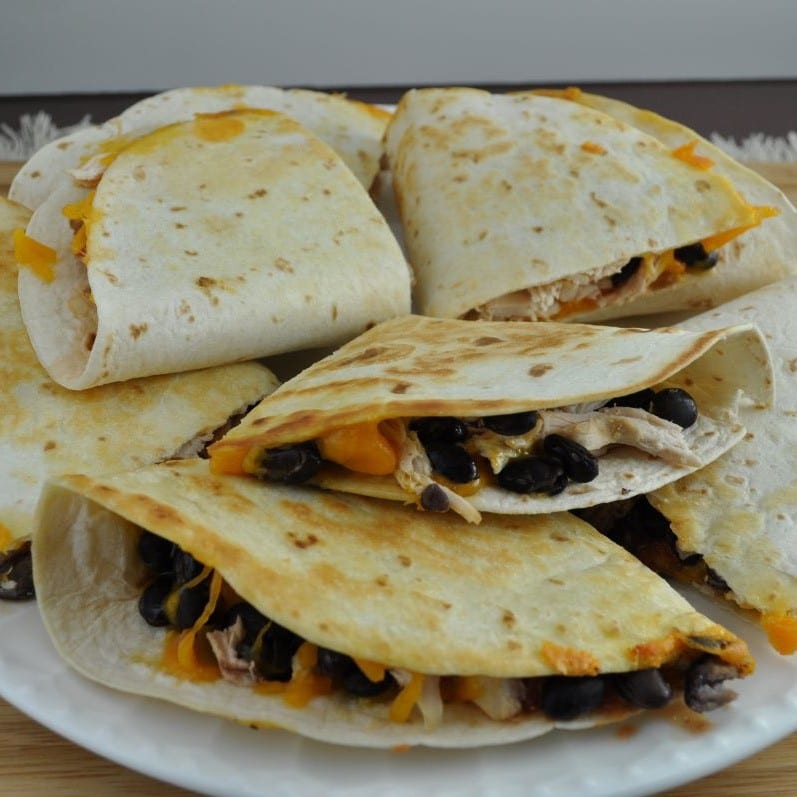
Blackstone Recipes

No Comments